

Quickstart
Create an app, add a table, grant access to it, sign a user in, and read your rows over the API.
By the end of this page you will have a provisioned app with a notes table, a policy that lets
your app's users write and read it, and an authenticated API call returning rows named by their
uid. It takes about ten minutes.
Before you start
You need a console account. Open the console's sign-up page (/signup; the sign-in page links to
it under Need an account first?).
Sign-up may be invite-only
When the sign-up page says Authoric is invite-only right now, fill in the request form (name, email, an optional company, and what you would like to build) and choose Request access. Once your request is approved you receive a one-time link to create your account. Google and GitHub sign-in also work for an approved address. A teammate can skip the request: an invitation from an admin of an existing organization is an approval in itself.
The samples below read two environment variables:
export AUTHORIC_URL="https://api.authoric.ai"   # your API's address
export APP_UID="<the App ID you copy in step 1>"
Create and provision an app
In the console, open Apps and choose Create App. Enter a name for the app (the field is labelled App ID; anything that is not already a uid is taken as the name, and the app's uid is minted for you), then choose Create app.
An app is its own database, with its own users, tables, roles, policies, handlers, storage and agents. Nothing is shared with your other apps.
A new app is created but not yet provisioned: its database does not exist until you provision it. Choose Provision from the app's row actions, or open the app and choose Provision app. It takes a few seconds; sections that need the database stay disabled, marked Provision this app first, until it finishes.
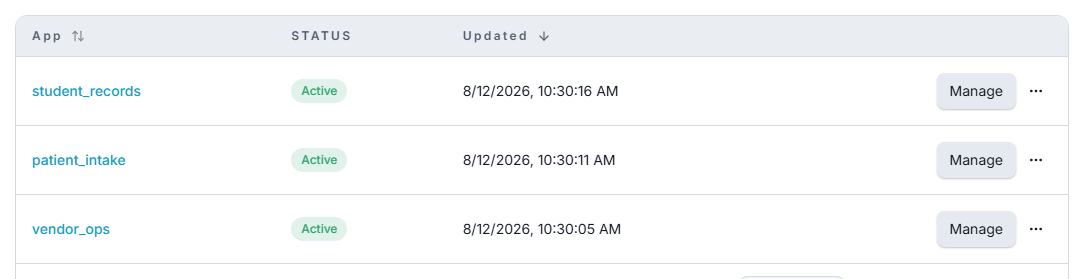
Open the app. Its header shows the App ID with a copy button. Copy it into APP_UID: every
app-plane URL begins with it.
Create a table
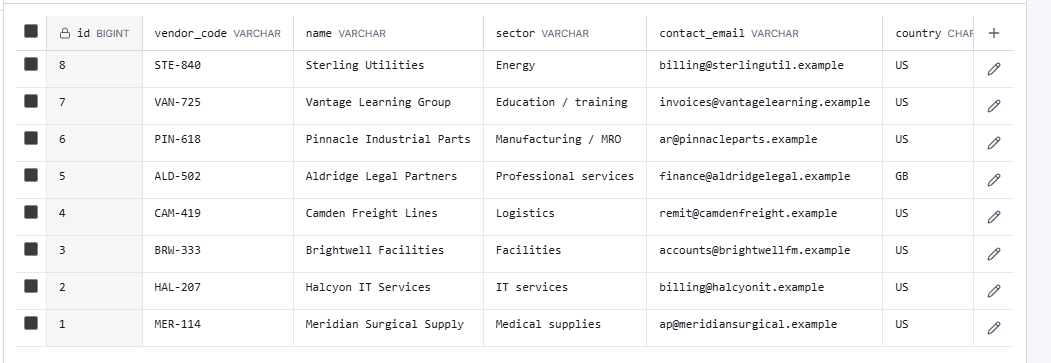
In the app, open Database › Tables and choose New. Name the table notes, then use
Add Column for two columns:
| Column | Type | Notes |
|---|---|---|
title | VARCHAR (length 255) | |
body | TEXT | Nullable |
Leave Scope by org on, then choose Create table.
Every table also gets columns you do not define: id (the primary key, which never leaves the
database), uid (the row's handle in the API), org_id (which organization the row belongs to,
never returned), and created_at / updated_at.
The table now has a REST API: list, read, create, update and delete, at
/{appUid}/autocrud/notes. You did not write a route.
Grant your users access to it
A new table is reachable by nobody until a policy grants it. Your app's users all hold the built-in User role, so grant the table to that role:
- Open App access › Policies and choose Create Policy. Name it
Notes accessand choose Create policy. - Under the policy's Permissions, choose Advanced (the per-table action grid) if it is not
already selected. Find the
notestable, tickcreate,readandreadList(the policy keysnotes:create,notes:readandnotes:read_list), and choose Publish. - Open App access › Roles, open the User role, pick
Notes accessunder Assign Policy and choose Assign policy.
Skip this step and the calls below return 403: a valid token is not permission.
Sign a user up
Your app's users are separate from your console account. Create the first one over the API. Passwords need at least eight characters with an uppercase letter, a lowercase letter, a digit and a symbol.
curl -X POST "$AUTHORIC_URL/$APP_UID/auth/signup" \
  -H "Content-Type: application/json" \
  -d '{ "email": "first@example.com", "password": "StrongPass!234" }'

# Keep the access token for the calls that follow
export TOKEN="<auth.accessToken from the response>"
Sign-up creates the user, gives them an organization of their own, and signs them in. The response
names the account by uid and carries an auth object:
{
  "uid": "0199b2e4-5c1a-7d3e-8f42-6a9b0c1d2e3f",
  "email": "first@example.com",
  "orgUid": "0199b2e4-5c19-7a10-b5c2-3d4e5f6a7b8c",
  "auth": {
    "accessToken": "eyJhbGciOi…",
    "refreshToken": "…",
    "activeOrgUid": "0199b2e4-5c19-7a10-b5c2-3d4e5f6a7b8c"
  }
}
Send the access token as Authorization: Bearer <token>. It is short-lived (15 minutes by
default); exchange the refresh token at POST /{appUid}/auth/token for a new pair. Later sign-ins
use POST /{appUid}/auth/login with the same email and password, and get the same auth object.
Magic links, email codes, and Google or GitHub sign-in end at the same tokens; see
Sign-in methods.
Write and read a row
# Write
curl -X POST "$AUTHORIC_URL/$APP_UID/autocrud/notes" \
  -H "Authorization: Bearer $TOKEN" \
  -H "Content-Type: application/json" \
  -d '{ "title": "First note", "body": "Written over the API." }'

# Read
curl "$AUTHORIC_URL/$APP_UID/autocrud/notes?limit=10&sort=created_at%20DESC" \
  -H "Authorization: Bearer $TOKEN"
The write answers with the new row's uid. The read comes back as items and paging:
{
  "items": [
    {
      "uid": "0199b2e6-0a4f-7c21-9d83-1e2f3a4b5c6d",
      "title": "First note",
      "body": "Written over the API.",
      "created_at": "2026-10-29T14:02:11.000Z",
      "updated_at": "2026-10-29T14:02:11.000Z"
    }
  ],
  "paging": { "limit": 10, "offset": 0, "count": 1, "total": 1 }
}
There is no id and no org_id in the row. A row is addressed by its uid from here on:
GET, PATCH or DELETE /{appUid}/autocrud/notes/{rowUid}.
What just happened
The write succeeded because a policy bound to the User role grants notes:create, not because
the token was valid. That check runs on every request, against the principal making it, whether
that is one of your users, an API key, a scheduled job or an agent. The row also landed in the
user's own organization, so another user of the app, in another organization, would not see it.